

Create a Kitchen Herb Garden at Home - Step-by-Step Guide
Create a Kitchen Herb Garden at Home - Step-by-Step Guide
Growing your own herbs is a great way to create this flavor-filled paradise right in your very own kitchen. With the right soil, plants, and tools, you can quickly and easily create a kitchen herb garden of your own!
It doesn't take a lot of space to have your own Ayurvedic herb garden. Many herbs will grow just fine in pots, so if you lack outdoor space, this may be your answer.
Step 1: Choose your space and select the herbs you'd like to grow.

The first step in creating your kitchen herb garden is finding the perfect spot. Whether it’s on a windowsill, balcony, or a dedicated outdoor area in your yard, be sure to choose a place with plenty of light and good drainage.
After deciding on the ideal space, select the herbs you'd like to grow! Popular herb choices include basil, oregano, parsley, rosemary, thyme, and mint. Consider selecting herbs that work best with your favorite recipes - this will make it easier for you to enjoy fresh herbs on even the busiest days!
Step 2: Properly prepare the soil for planting.

Once you’ve chosen your herbs and the space to grow them, it’s time to prepare the soil. If you’re gardening outdoors, use a shovel or tiller to break up the earth and mix in organic material like compost or manure.
The soil needs to be loose enough that water can easily travel through it. If you plan on growing herbs indoors, mix together high-quality potting soil with compost and/or fertilizer prior to planting.
Consider your soil’s pH level.

Another factor to consider is pH. Most herbs prefer slightly acidic soil between 6.0 and 6.5, so you may want to invest in a soil test from your local garden center or order one online to determine the pH of your dirt.
This makes it easier for you to appropriately adjust your soil’s pH level if necessary. If it’s too alkaline, mix in some sulfur or aluminum sulfate to lower the pH. If it’s too acidic, lime can be added to bring up its levels.
Step 3: Find the perfect pot with good drainage.

Whether you opt for growing herbs from seed, small plants, or even cuttings, all you need is a pot with good drainage, some organic soil, and a bit of water. Keep in mind that not all herbs are alike, so it is important to research the best way to care for each one.
Generally speaking, most herbs prefer good drainage and need to be watered regularly - especially during the summer months - but don’t let them soak in standing water.
Step 4: Plant the seeds or seedlings.

After preparing the soil, you’re ready to plant. If you are using seeds, make sure to read any instructions included with the package to find out when and how to plant them.
For seedlings, dig a hole that is deep and wide enough so that the roots have plenty of space and water can travel through easily. Place the seedling in the ground and then lightly cover it with soil. Water the herb immediately after planting and continue providing regular care for optimal growth.
As it grows, be sure to tend to your kitchen herb garden regularly. Deadhead spent flowers, as this encourages the plant to put more energy into foliage growth. Water and fertilize regularly, according to the needs of each plant, and also keep an eye out for diseases and pests that can affect it
Trim them as necessary and pinch back new tips if they become too long or leggy. With a little dedication, you’ll have a thriving kitchen herb garden ready to provide healthy and flavorful herbs all year round.
Step 5: Place markers for each herb in garden rows, if desired.

Placing markers can help you easily identify the herbs in your garden. Writing the names of each herb on a wooden or stone marker and placing them at the beginning of each row allows you to access information quickly when necessary.
This can be especially helpful if you’re cooking with several different herbs at once and need to keep track of them all!
If you have a fairly small kitchen herb garden, you may be able to remember which herbs are in each row without the help of markers. However, if you have several herbs planted closely together in multiple rows, it can be helpful to keep track of everything with smaller markers.
Different varieties of herbs can have similar leaves, so marks help ensure that you’re snipping the right leaves when cooking. This also makes it easier to identify your herbs if they need to be divided or transplanted.
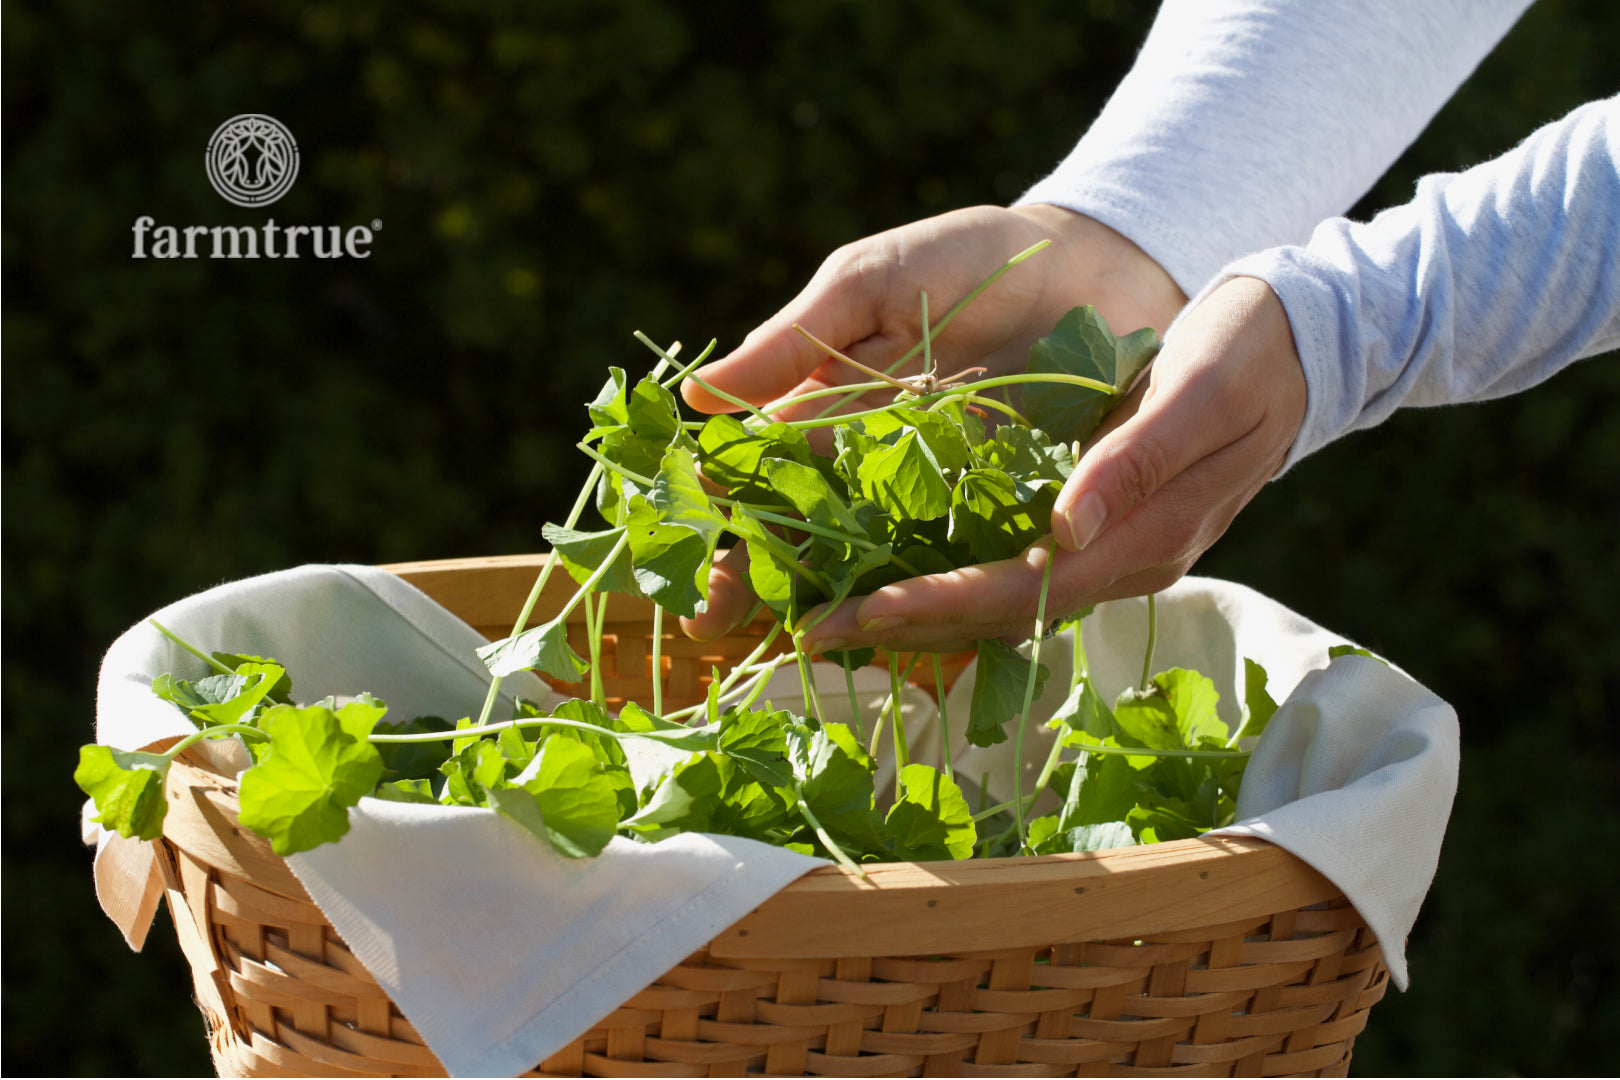
Step 6: Harvest and preserve herbs as needed for cooking!

Once you’ve started harvesting herbs, make sure to use them right away! Herbs are best when used fresh and have the most flavor right after being picked.
If you find yourself with extra herbs that you don’t need right away, there are options to store and preserve them for later use.
Pick unripe herb stems and hang them upside down in a dark dry place out of the sun; the leaves will dry out, leaving you with great aromatics!
Drying herbs is a great way to use and preserve them long-term as well! Whether you want to place your herbs in a container or hang bunches of them upside-down, make sure the environment they’re in is not too humid.
Otherwise, they may lose their flavor and color quickly. After they have dried out completely, store the herb leaves in an airtight container in your kitchen cupboard or pantry until needed.
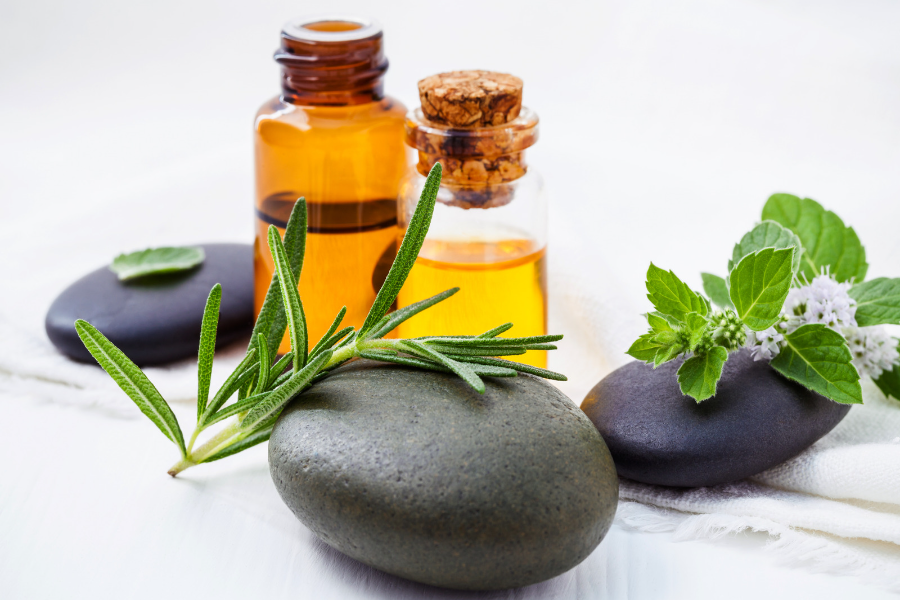
For the freshest flavors, grind up any amount of leaf you need right before adding it to your recipe. Make sure to keep some growing fresh, so you always have freshly harvested herbs – sustainably grown, healthy, and flavorful kitchen ingredients!
Conclusion

Hopefully, we've inspired you to consider creating your own kitchen herb garden. But don't take our word for it—give it a try and see how you feel. You might even start noticing some positive changes in your health and well-being. Plus, there's no time like the present to begin your journey toward a more herbaceous future!